From felt fiends to sinister silhouettes, these handmade touches are sure to give your home an extra-spooky feel this Halloween. A gaggle of helium-filled jack-o'-lantern balloons hovers near the refreshment table. The simple features are drawn onto the inflated balloons with permanent marker; choose an assortment of geometric shapes that are easy to create freehand.
I just couldn't contain myself anymore....I am just SO in the mood for some "Fall" projects!!! I had this idea floating around in my head and just couldn't wait any longer to make it.
Wanna make a fun googly eyed Halloween frame too?
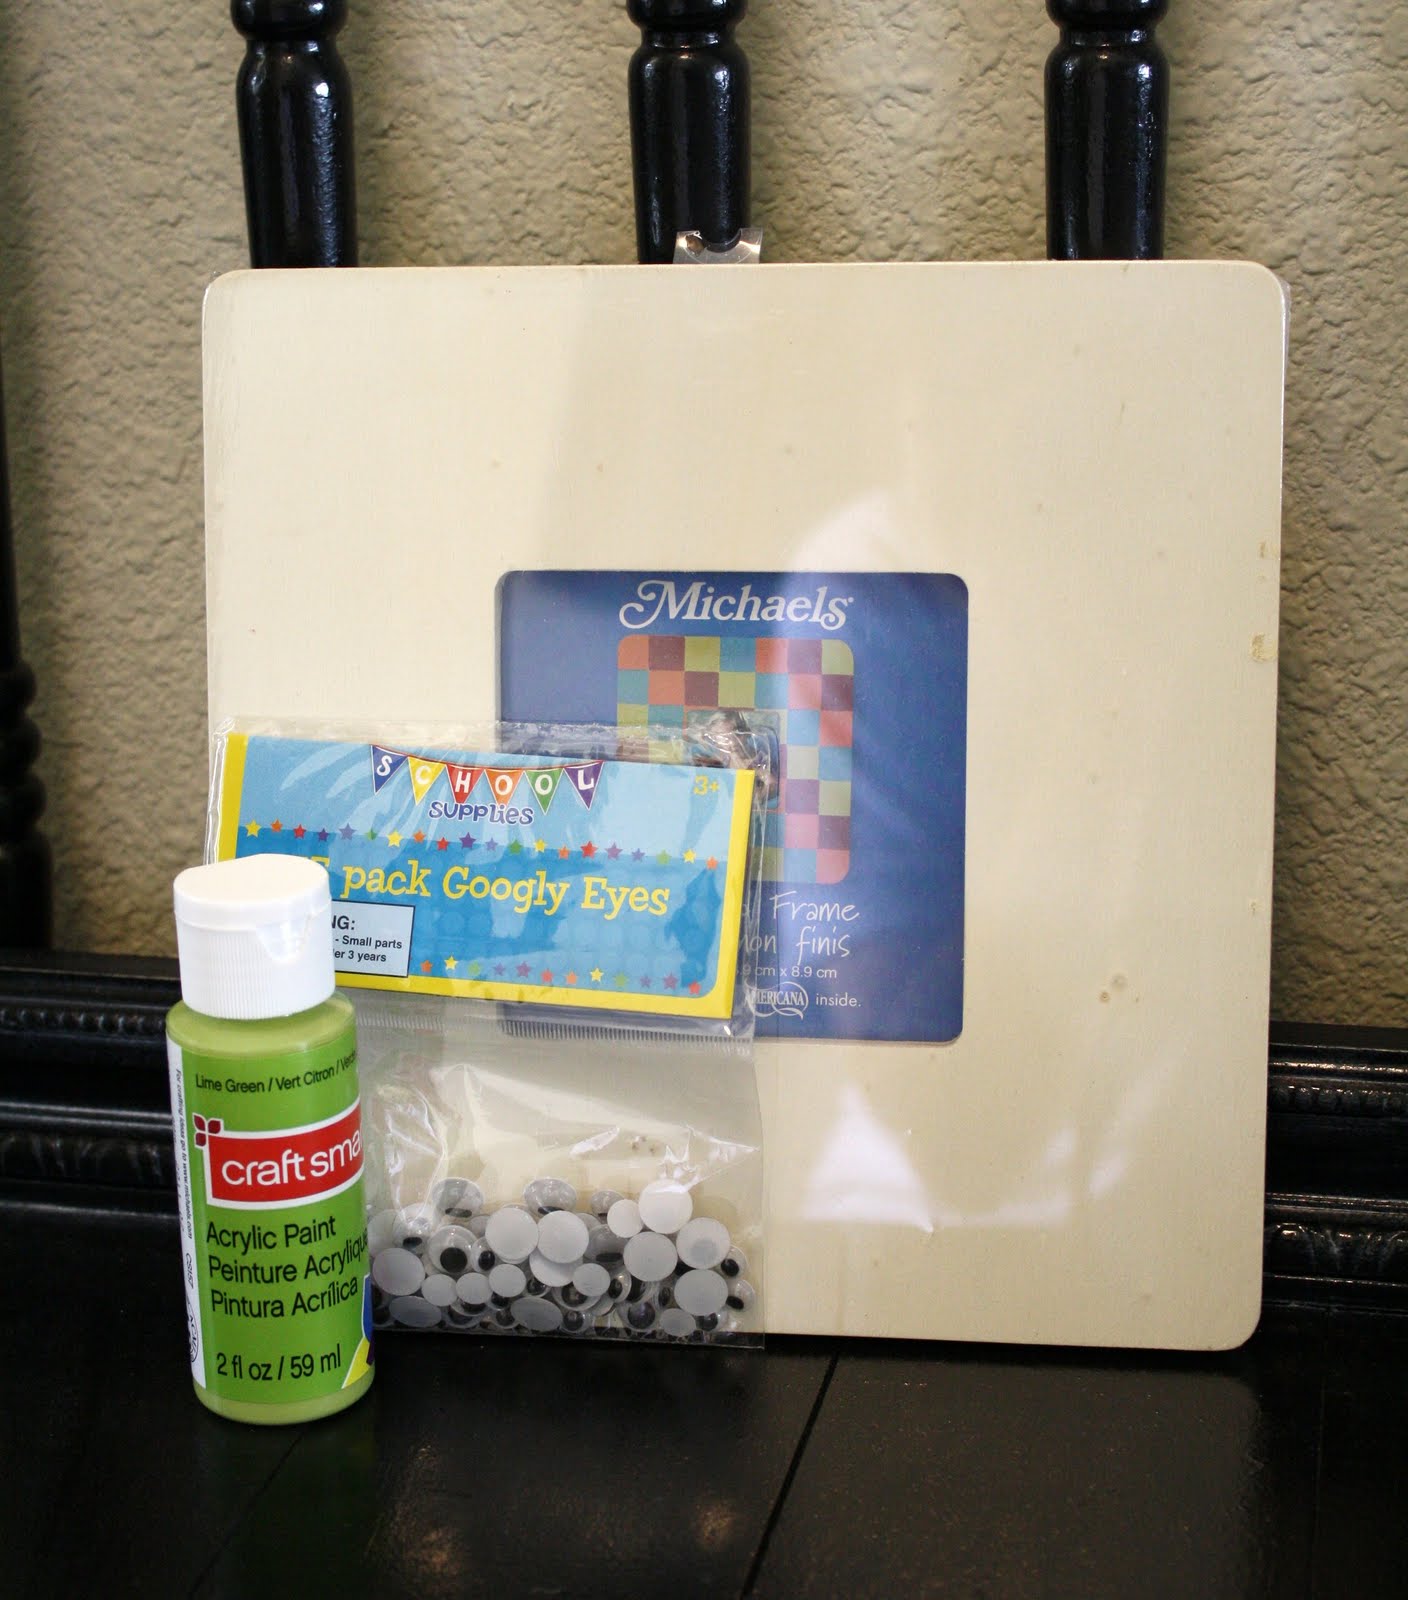
Gather your supplies:
-$1 Michael's picture frame
-Some lime green craft paint
-Lots and lots of googly eyes
-A couple embellishments (I used ribbon and chipboard letters)
I painted the picture frame with the craft paint and started gluing the google eyes on and glued some more eyes on.....and then glued even more on. This took quite awhile!
Once all the eyes were glued on...I took a breath...and then cut "EEK" out of some chipboard with my cricut. I painted the letters the same color as the frame. I decided to attach the letters to the frame with a sparkly black piece of ribbon. Of course I didn't have any glittery black ribbon so I just decoupaged some glitter onto some plain black ribbon.
Happy Halloween! Here is the full tutorial of the crafted Toddler Halloween Owl Costume.
My 22 month old son loves this adorable Twinkle Twinkle Little Star video on youtube.
He watches it over and over and sings along. It has a cute little owl singing to a star. The owl is his favorite character, so I decided he should dress up as him for Halloween.
To start the project I am crocheting an owl hat. I figured this would work best because he would never wear any kind of mask, but he may keep a hat on. This project will be posted in
steps, the base of the hat will be the first step.
I found this very clear tutorial and was able to make the base of the hat in just a few hours:
Art of Crochet by Teresa - Baby Crochet Cap with Earflap Option -
After creating the base, I then added the ear flaps, colored trim and the tassels. I am using this video by Brooke Till for the details, but I found the previous video to be a little bit easier to follow when it came to
the basic hat.
Here is my basic hat, ready for the facial details:
.
The next step in creating the owl hat is to create the eyes. I have used the brown and green to match the hat and added white for contrast. This was fairly easy to do because it follows the same pattern as beginning your hat. I now need to sew on the eyes and then move on to the beak and ears. Here is the video tutorial:
After creating the eyes, sew them on with a large needle. Following the video tutorial, sew on the beak. Then you will create the tassels for the ears using the same colors in the braided tassels hanging from the ear flaps. Here is the video tutorial: Once you are done with the hat, we can move on to the body. I am going to use an old, long sleeved onsie. I found one that is the same color as the green in the hat. I put it on my son and marked where it will be tucked in, only on the front.
We are going to use the back flap of the onsie to create the tail. The next step will be to create the feathers. You will need dark brown fleece or felt, and tan fleece or felt. I got 1/2 yard of the dark brown
and 1/8 yard of the tan.
I created a template for the feathers. There are many different sizes on this template, so you can print and use what will suit your needs.
I started at the bottom of the onsie, using the larger sized feathers. I cut enough to fit around the front and back. I used a hot glue gun to attach them.
On the back, I filled the onsie flap with feathers to create the "tail" of the owl.
I worked my way up the front and back, gluing the feathers so that they overlapped each other. I made the feathers a bit smaller as they reached the top. This made the process longer, but the results were worth it. The change in size helped create a more realistic look. I used the lighter tan fabric for the belly. Here is a final image of my son in the costume, photos courtesy of Kit Abeldt.
I then took the photo and placed him into a screen shot of the Twinkle Twinkle video. I can't wait to see his reaction to this photo. My final step to the project was creating a star for him to carry around. He would not wear the hat at all leading up to this weekend. When the star was complete, he understood the costume and then would not take of the hat! Sometimes things just work out!
After creating the eyes, sew them on with a large needle. Following the video tutorial, sew on the beak. Then you will create the tassels for the ears using the same colors in the braided tassels hanging from the ear flaps. Here is the video tutorial:
Once you are done with the hat, we can move on to the body. I am going to use an old, long sleeved onsie. I found one that is the same color as the green in the hat. I put it on my son and marked where it will be tucked in, only on the front.
We are going to use the back flap of the onsie to create the tail. The next step will be to create the feathers. You will need dark brown fleece or felt, and tan fleece or felt. I got 1/4 yard of the dark brown and 1/8 yard of the tan. Stay tuned for the next steps!