
I saw a tutorial for a cute Thanksgiving Turkey Shirt on The Crafty Nest. I created one for my son to wear to his school's Thanksgiving Feast:

{DIY Tutorial} Turkey Handprint Shirt
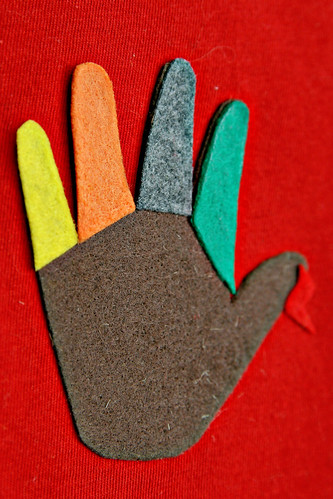
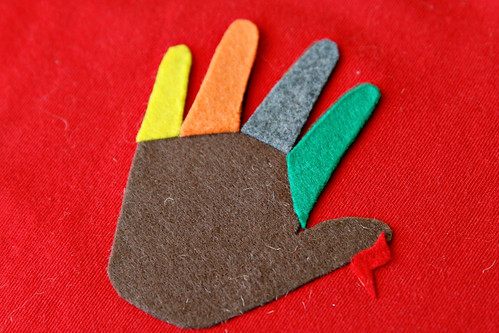
Thanksgiving just isn't complete without a handprint turkey. I turned Logan's little hand into a felt turkey and ironed it on to a shirt that he can wear for the turkey eating festivities. The hardest part of this project was getting a 16 month old to sit still long enough to trace his hand. I plan on cutting out the little turkey and framing it, to be used in my Thanksgiving decorating next year. Happy Turkey Day!
Materials
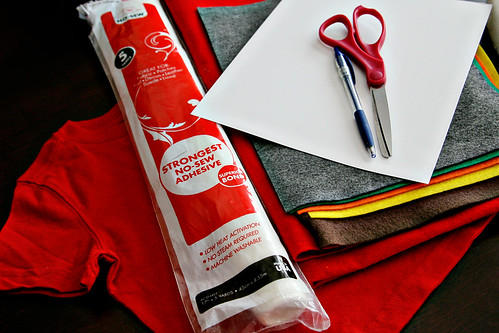
Shirt (I found mine on clearance at Target)
Heat-n-Bond No Sew Iron On Adhesive
6 Pieces of Different Colored Felt (large enough to fit a tiny handprint)
Scissors
Pen or Pencil
1 Piece of Cardstock
Iron
Directions
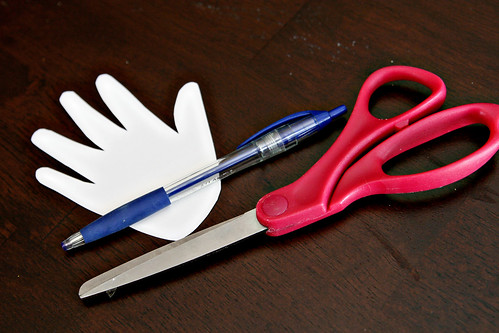
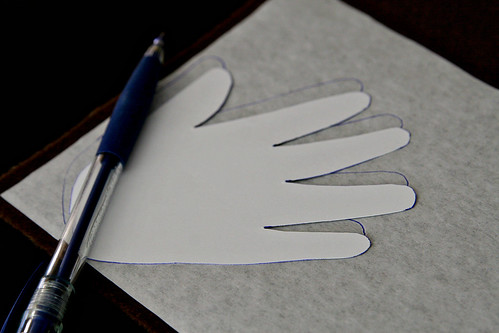
Step 1: Trace your little one's handprint on a piece of cardstock. Cut out the handprint.
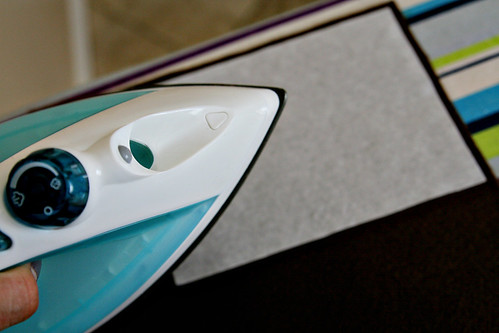
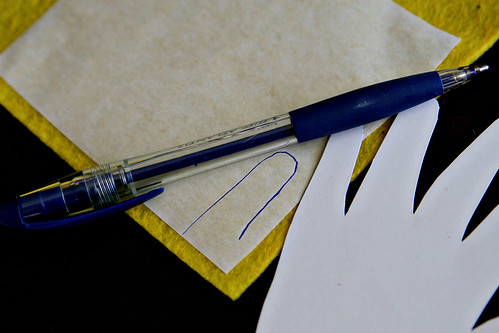
Step 2: Iron a small piece (big enough for a handprint) of no sew Heat-n-Bond onto the 6 pieces of felt.
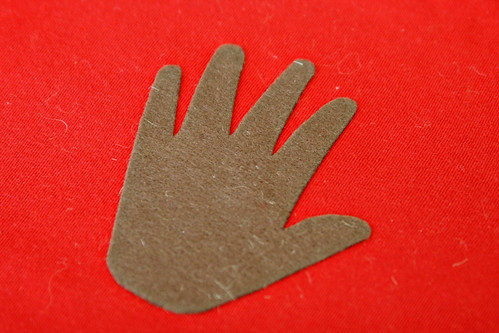
Step 3: Trace the entire handprint onto the Heat-n-Bond backing of the piece of felt that you want to use for the turkey's body. I used a brown piece of felt for the body.

Materials
Shirt (I found mine on clearance at Target)
Heat-n-Bond No Sew Iron On Adhesive
6 Pieces of Different Colored Felt (large enough to fit a tiny handprint)
Scissors
Pen or Pencil
1 Piece of Cardstock
Iron
Directions
Step 1: Trace your little one's handprint on a piece of cardstock. Cut out the handprint.
Step 2: Iron a small piece (big enough for a handprint) of no sew Heat-n-Bond onto the 6 pieces of felt.
Step 3: Trace the entire handprint onto the Heat-n-Bond backing of the piece of felt that you want to use for the turkey's body. I used a brown piece of felt for the body.

No comments:
Post a Comment